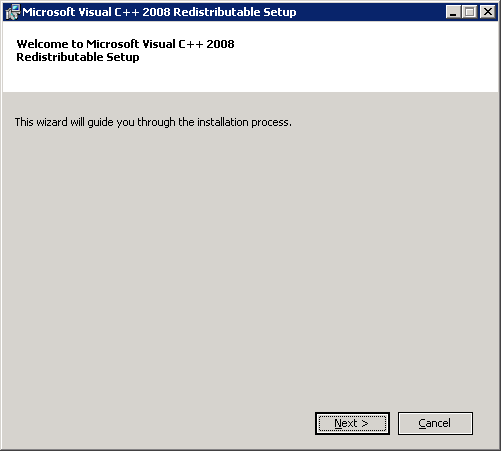
Install Microsoft Visual C++ 2008 SP1 Redistributable Package (x86)
- This is a requirement for the next item.
- The installer can be found here.
- Initiate the installer, click Nextat the first screen.
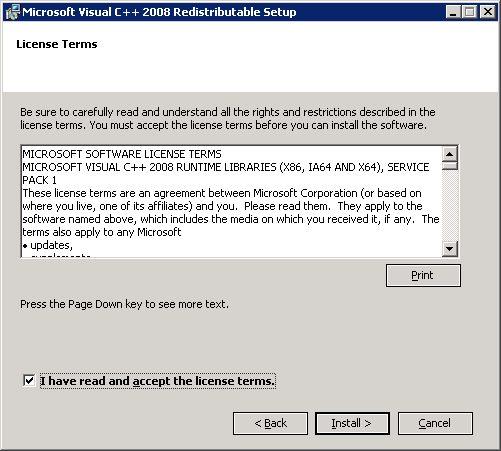
- Click the select box for I have read and accept the license terms. and then click Install >.
-
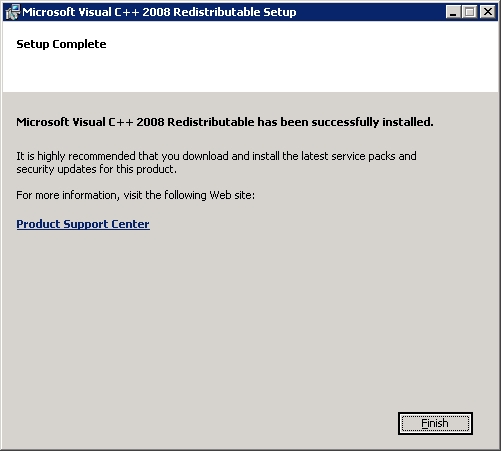
- Click Finish.
Install OpenSSL
- Download the installer from here.
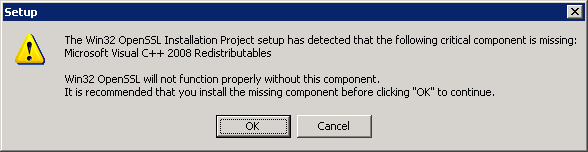
- Initiate the installer, click OK if you see this screen
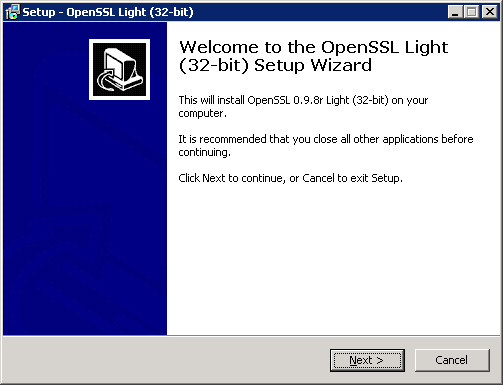
- Click Next >.
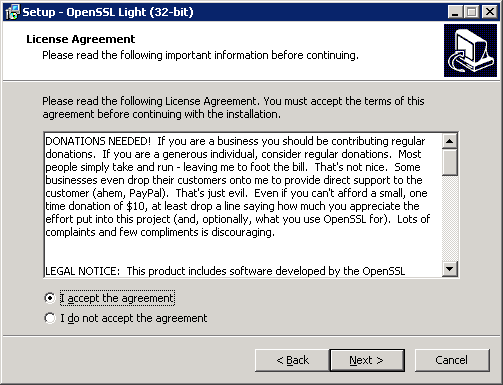
- Select the radio for I accept the agreement and click Next >.
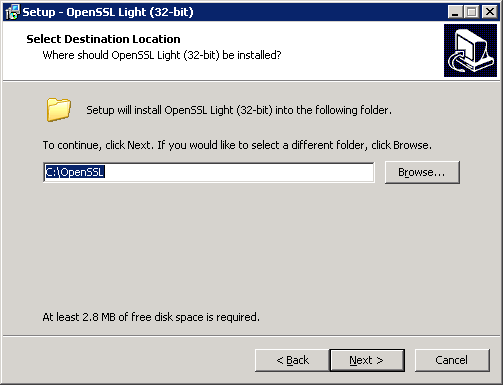
- Click Next >.
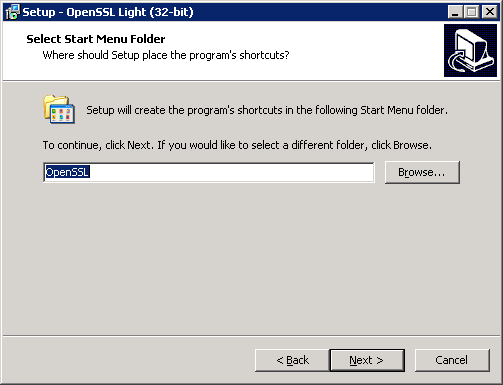
- Click Next >.
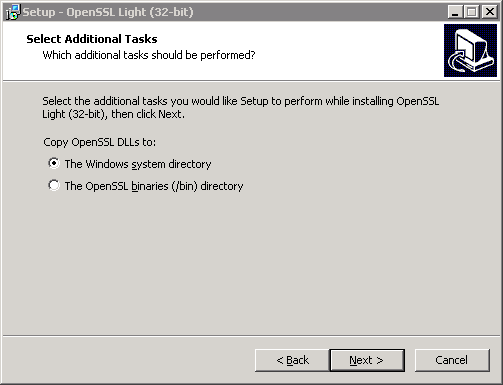
- Click Next >.
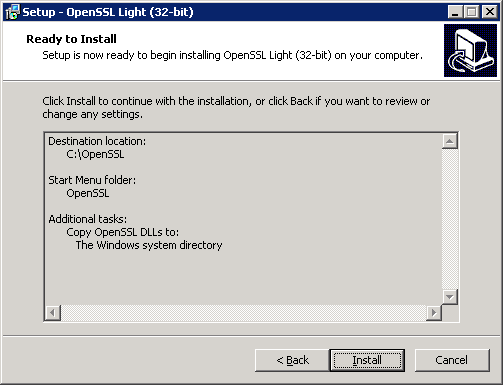
- Click Install.
- Choose a donation option right for you and click Finish.
- Once installation has completed, it places the dll’s in the following places:
-
C:\WINDOWS\system32\libeay32.dll
C:\WINDOWS\system32\ssleay32.dll
-

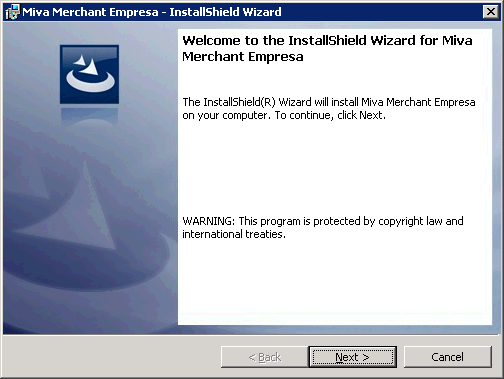
Install the Miva Merchant Empresa engine
- Download the latest installation from here.
- Initiate the installer, click Next >.
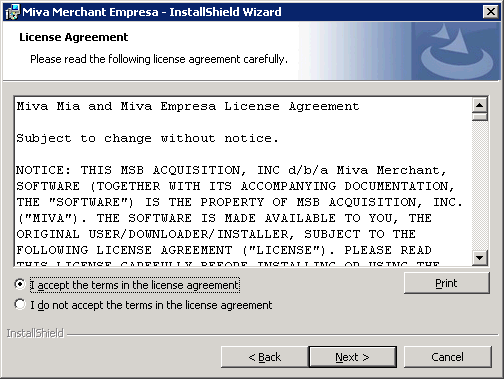
- Select the radio for I accept the terms in the license agreement and click Next >.
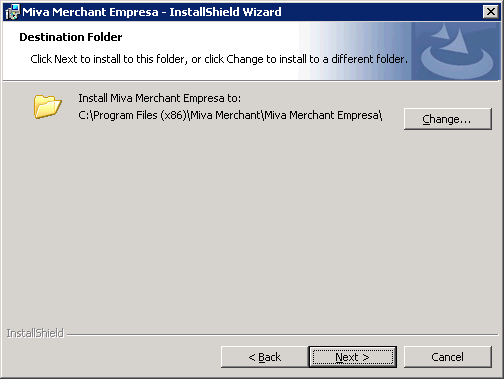
- Click Next >.
- Click Install.
- Click Finish.
Install GD
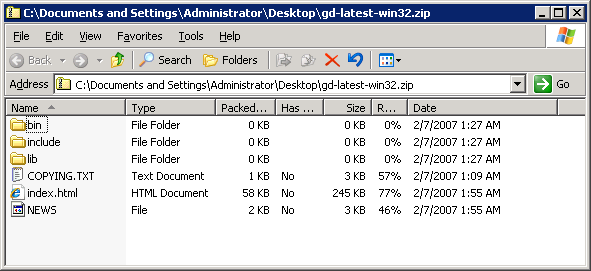
- Download the latest gd-latest-win32.zip from here. I personally had to obtain the zip using archive.org, in which you can download the same file as I have saved it here.
- Create a new folder within the Miva Merchant Empresa installation directory and name the Folder SYSTEM. You should then have one of the following paths
-
1C:\Program Files)\Miva Merchant\Miva Merchant Empresa\SYSTEM
- Or:
-
1C:\Program Files (x86)\Miva Merchant\Miva Merchant Empresa\SYSTEM
-
- Open up the gd-latest-win32.zip file.
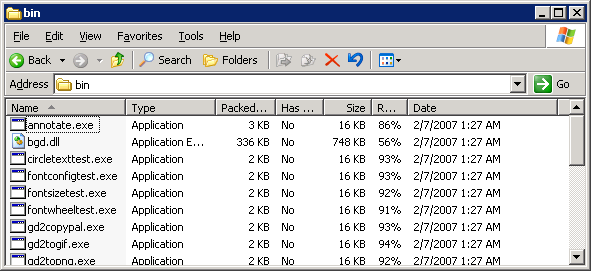
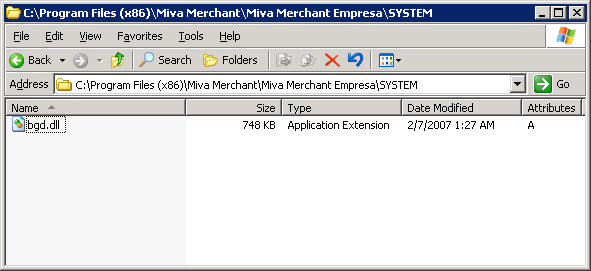
- Inside of the bin folder you will find a file bgd.dll.
- Copy this file to the SYSTEM folder we created earlier.
- Grant IUSR read access to this dll.
Configure IIS for the Empresa Engine
- First off, if this is a 64bit version of IIS6, it needs to be run in 32 bit mode in order for Miva Merchant Empresa settings to show. To load IIS in 32 bit mode, put a shortcut on the desktop, edit the shortcut adding ‘ /32’ to the end of the path, causing the path to end up being:
|
1 |
%SystemRoot%\system32\inetsrv\iis.msc /32 |
- Also, you will want to configure IIS to run 32 bit applications. To do this, run the following command:
-
1cscript.exe C:\inetpub\adminscripts\adsutil.vbs SET W3SVC/AppPools/Enable32bitAppOnWin64 1
-
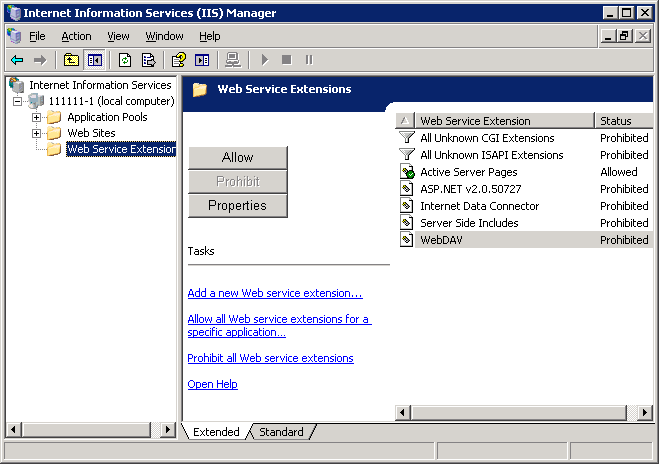
IIS Web Server Extension
- Open IIS and select Web Service Extensions.
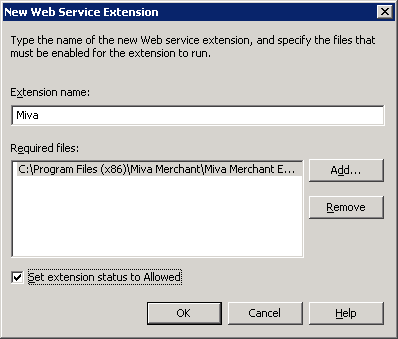
- Click Add a New Web Service Extension and enter the requested information:
- Extension Name: Miva
- Required Files:C:\Program Files\Miva Merchant\Miva Merchant Empresa\MivaVMIIS.dll
- Or for x64 Required Files: C:\Program Files (x86)\Miva Merchant\Miva Merchant Empresa\MivaVMIIS.dll
- Check Set Extension Status to Allowed
- Click Ok.
IIS Mapping for .mvc
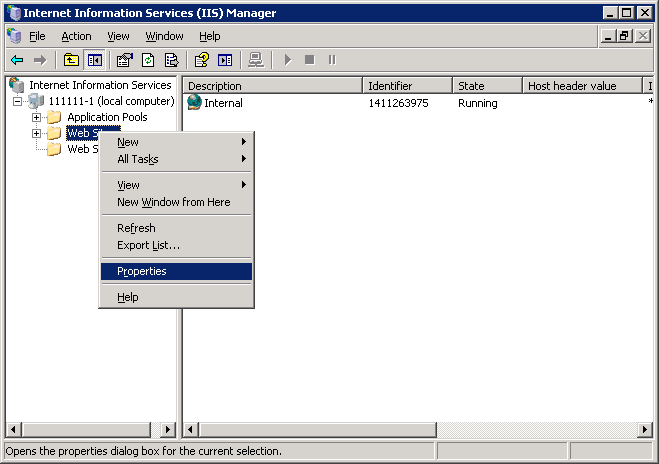
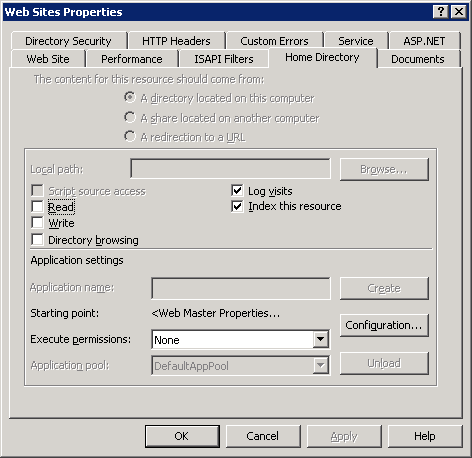
- Open IIS, right-click Websites and select Properties.
- Click on the Home Directory tab and then click Configuration.
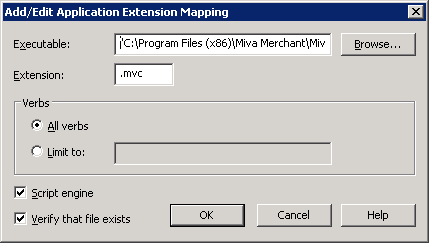
- On the Mappings tab, click Add.
- Enter the requested information:
- Executable:C:\Program Files\Miva Merchant\Miva Merchant Empresa\MivaVMIIS.dll
- Or for x64 Executable:“C:\Program Files (x86)\Miva Merchant\Miva Merchant Empresa\MivaVMIIS.dll”
- Remember to include the double quotes
- Or for x64 Executable:“C:\Program Files (x86)\Miva Merchant\Miva Merchant Empresa\MivaVMIIS.dll”
- Extension Type: .mvc
- Leave the other options as the defaults
- Executable:C:\Program Files\Miva Merchant\Miva Merchant Empresa\MivaVMIIS.dll
- Click OK.
- I recommend checking a website to ensure the mapping has propagated throughout the website tree.

ISAPI Filters for x64 based OS’s
- Since IIS will be running essentially in 32 bit mode, we need to make sure that other entities, such as .NET 2.0 are set to run the 32 bit versions as well.
- Open IIS, right-click Websites and select Properties.
- Click on the ISAPI Filters tab.
- Select ASP.NET_2.0.50727.0 and click Edit….
- For anything .NET, you can update the Executable field replacing “Framework64” with just “Framework”, keeping the rest of the field intact. Click OK. Click OK.


Miva VM Settings
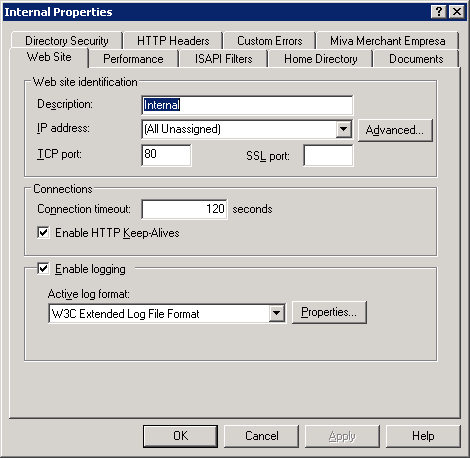
- Open the site in question within IIS, right-click the site, and choose Properties.
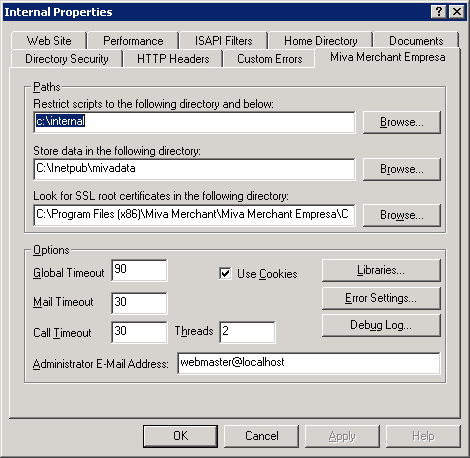
- Choose the Miva Merchant Empresa tab.
- Enter the requested information:
- Restrict scripts to the following directory and below:
- This will be the same as the Home Directory
- Store data in the following directory:
- In my case, this is usually be the same as the Home Directory, but in C:\MivaData\subfolderName
- Restrict scripts to the following directory and below:
- Click Browse for the Look for SSL root certificates in the following directory: setting.
- Make sure you are using the openssl-0.9 directory because we installed OpenSSL 0.9 and not version one.
- Click OK.

Commerce and System Libraries
- There are a total of 3 main Commerce libraries (LinkPoint, AuthorizeNet, and CyberCash). AuthorizeNet and CyberCash can be obtained elsewhere while LinkPoint was included in the Miva Merchant Empresa installer.
- Once downloaded place them in the appropriate location:
-
1C:\Program Files\Miva Merchant\Miva Merchant Empresa\COMMERCELIBRARIES
or
1C:\Program Files (x86)\Miva Merchant\Miva Merchant Empresa\COMMERCELIBRARIES
-
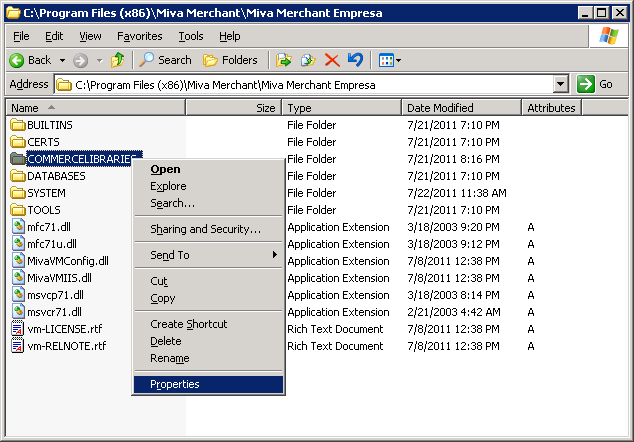
- Right-click on the COMMERCELIBRARIES folder and choose Properties.
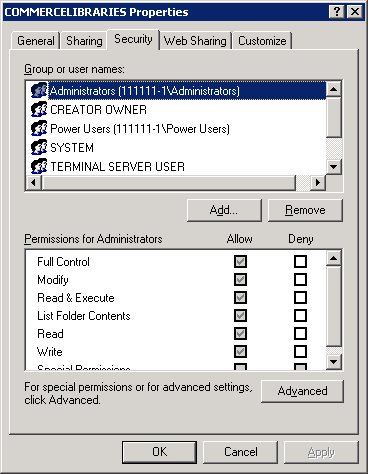
- Click on the Security tab.
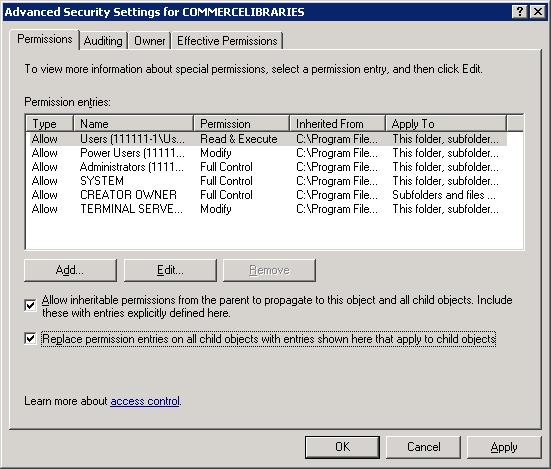
- Click Advanced, check the checkbox for Replace permission on entries on all child objects with entries shown here that apply to child objects and click OK.
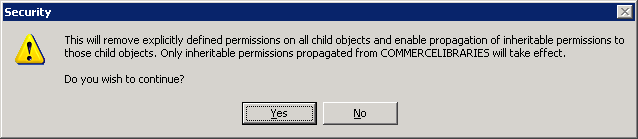
- Click Yes on the warning message.
- Click OK to close the COMMERCELIBRARIES Properties box.
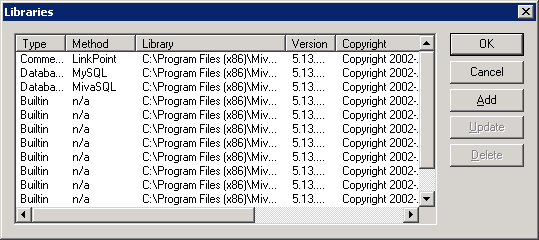
- Continuing from the last screen within IIS, click Libraries.
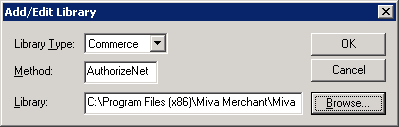
- Click Add to add the AuthorizeNet Library.
- Change the Library Type to
1Commerce - Set the Method to
1AuthorizeNet
. - Enter in the path to the MCATHNET.DLL file:
-
1C:\Program Files)\Miva Merchant\Miva Merchant Empresa\COMMERCELIBRARIES\MCATHNET.DLL
- Or:
-
1C:\Program Files (x86)\Miva Merchant\Miva Merchant Empresa\COMMERCELIBRARIES\MCATHNET.DLL
-
- Verify your settings
- Click OK to save your changes.
- Change the Library Type to
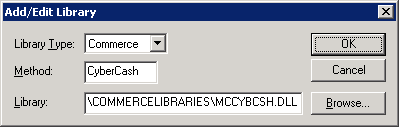
- Click Add to add the CyberCash Library.
- Change the Library Type to
1Commerce
. - Set the Method to
1CyberCash
. - Enter in the path to the MCATHNET.DLL file:
-
1C:\Program Files)\Miva Merchant\Miva Merchant Empresa\COMMERCELIBRARIES\MCYBCSH.DLL
- Or:
-
1C:\Program Files (x86)\Miva Merchant\Miva Merchant Empresa\COMMERCELIBRARIES\MCYBCSH.DLL
-
- Verify your settings
- Click OK to save your changes.
- Change the Library Type to
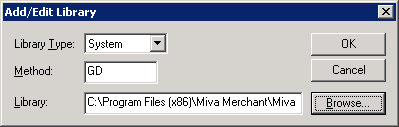
- Click Add to add the GD Library.
- Change the Library Type to
1System
. - Set the Method to
1GD
. - Enter in the path to the bgd.dll file:
-
1C:\Program Files)\Miva Merchant\Miva Merchant Empresa\SYSTEM\bgd.dll
- Or:
-
1C:\Program Files (x86)\Miva Merchant\Miva Merchant Empresa\SYSTEM\bgd.dll
-
- Verify your settings
- Click OK to save your changes.
- Change the Library Type to
Test using the Miva Diagnostics tool
- Copy diag6.mvc from either location below, and paste it in the webroot.
-
1C:\Program Files\Miva Merchant\Miva Merchant Empresa\TOOLS
- Or
-
1C:\Program Files (x86)\Miva Merchant\Miva Merchant Empresa\TOOLS
-
- From within IIS, locate this file, right click on it and choose Browse.
- Run each test.
- Under System Variables make sure miva_sslavailable = 1.
- If it equals 0 try installing OpenSSL again.
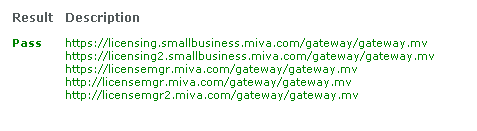
- Under License Manager Call you want to make sure all tests pass:
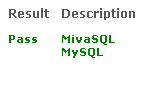
- Under Installed Database Libraries you want to make sure all tests pass, and that it shows both MivaSQL and MySQL:
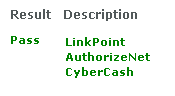
- Under Installed Commerce Libraries you want to make sure all tests pass, and that it shows LinkPoint, AuthorizeNet, and CyberCash:
- Under Installed System Libraries you want to make sure all tests pass, and that it shows GD:
- Under System Variables make sure miva_sslavailable = 1.