This article is specific to version 7, but the workflow is very similar on previous versions and likely to be similar on later versions.
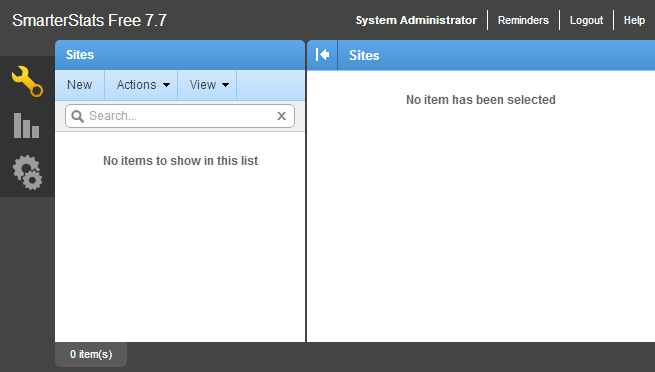
From within the SmarterStats Interface, click on New:
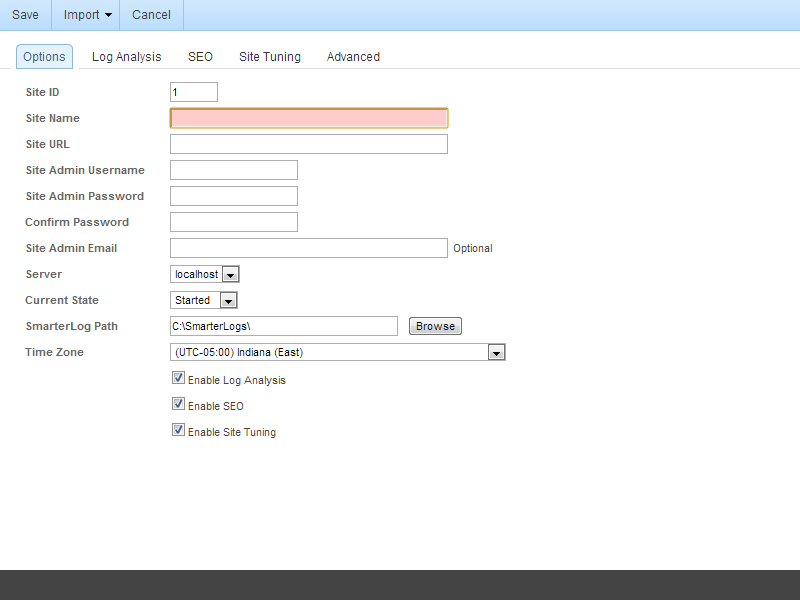
You will be given a new window for creating a site:
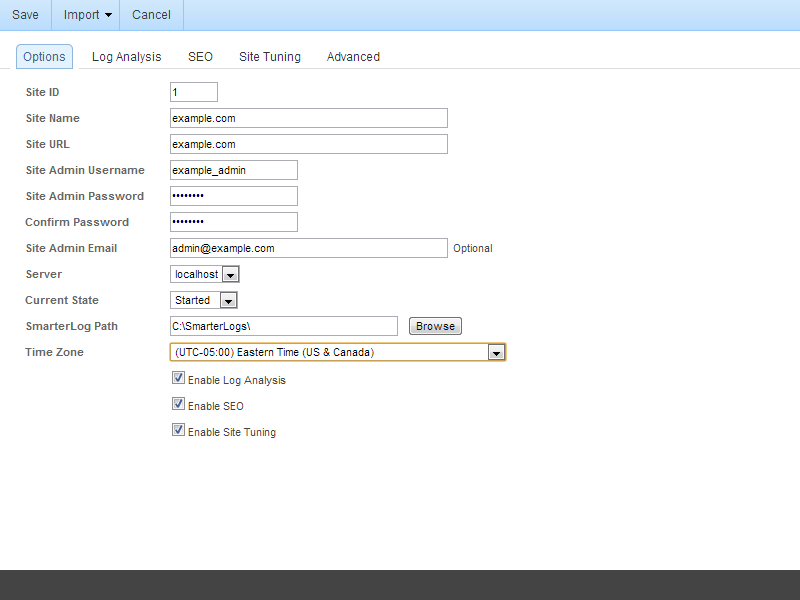
I have filled in an example site and its associated Options below:
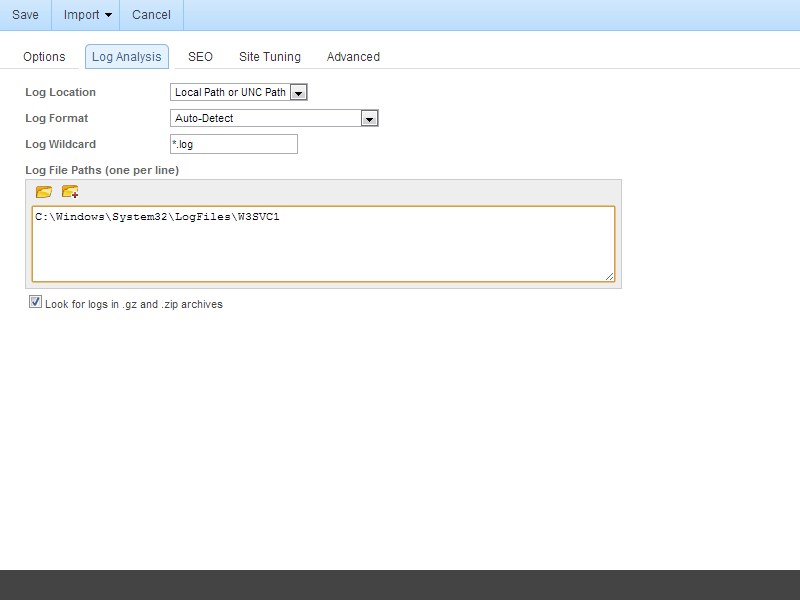
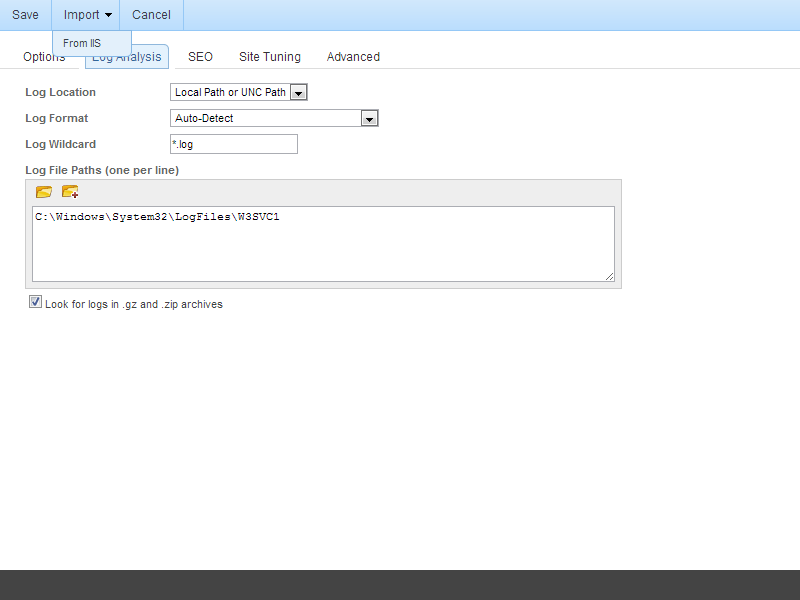
Click on Log Analysis. Here you can tell SmarterStats where the raw logs, and with the below check box, archived logs are located on the Local Machine. If you need to connect to a remote location, you have a few options to you I will review in a separate article. I believe those setup options to be more in depth than the standard setup. In the screen blow, I have set the Log File Paths (one per line) to the default log file location for a site running under IIS.
In some cases, you can use the Import > From IIS feature to import this setting. This may be easier for sites hosted on the same server as the SmarterStats application.
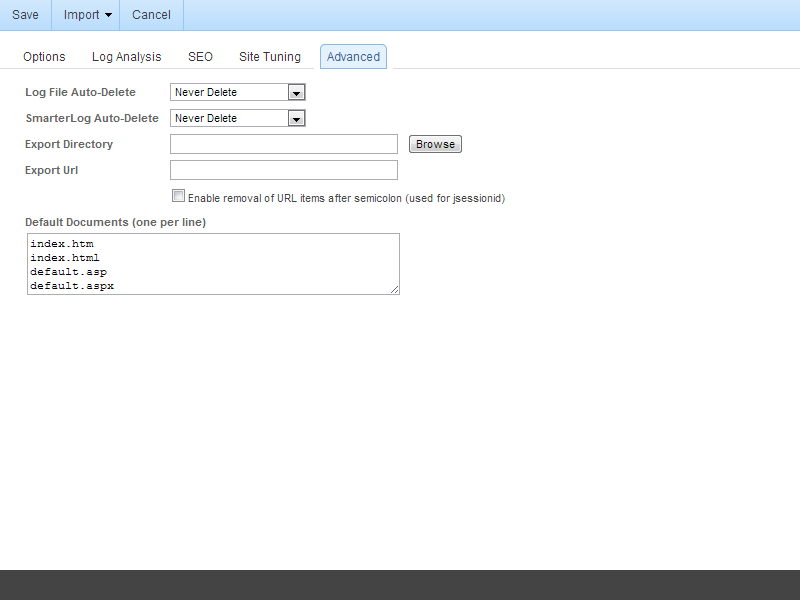
Click on the Advanced tab. I want to note that on this tab you will see the default documents that SmarterStats will be looking for within the logs. This list is rather short, you can expand it from:
index.htm
index.html
default.asp
default.aspx
To:
index.htm
index.html
index.cfm
index.cfmx
index.php
index.cgi
default.htm
default.html
default.cfm
default.cfmx
default.php
default.cgi
Once done on this screen, click Save.
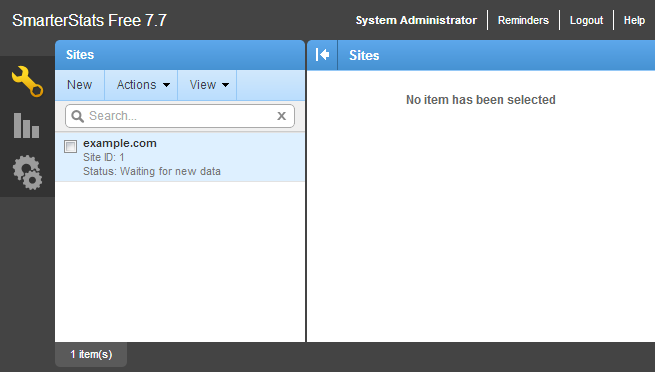
Here is my newly created site, it it does not show any detail in the right hand pane and I believe this to be due to missing log files.
